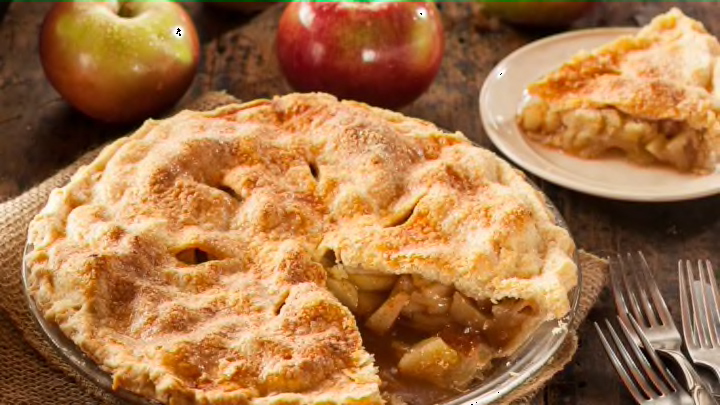
If you've ever flipped through a cookbook, you could be forgiven for thinking that making a homemade pie crust looks easy. After all, the recipe calls for just three ingredients: flour, water, and fat (and a pinch of salt for flavor). What could go wrong?
Well, everything. Make one mistake, and your homemade pie crust could turn into a leathery, brittle, gummy, crumbly, tough, or—worst of all—soggy mess. And that’s because science is standing in the way of that flaky fulfillment.
Homemade Pie Crust: The Basics
Let’s start at the top of the recipe. Most cookbooks recommend “cutting in” (or incorporating) the fat into the flour until the mix resembles a coarsely ground meal. Then, you add cold water in small increments.
The reason? Gluten.
Gluten is a protein formed when two other protein molecules called glutenin and gliadin, found in wheat, interact with water. The more you mix or knead water into dry flour, the more cross-linked bonds between the molecules (and the more gluten) you’ll create, giving the dough strength and structure. Homemade pie crust, however, is delicate. Too little gluten, and your crust won't be strong enough to hold itself together. Too much gluten, and your crust will become tough and chewy [PDF].
And that’s why cutting in the fat properly is so important. If you under-mix the fat, the flour will be too powdery and might require extra water to create a malleable, workable dough. Each extra drop will increase the risk that you'll form too much gluten. On the other hand, if you over-cut the fat, you won’t have enough dry flour available to take in water at all. In that case, you won’t make enough gluten, and your piecrust will crumble.
Chill the Fat
Pie crust recipes universally agree that the fat must be well chilled. That's because, if the fat melts prematurely during mixing, you could introduce unwanted moisture to the flour—thus promoting the overproduction of gluten. (This is especially true if you're using butter, which is 15 percent water. It's less worrisome if you're baking with lard and shortening, which contain little—if any—water at all.)
Gluten-control aside, there's another reason to keep fat chilled. When you eventually roll the crust, layers of cold fat will be flattened and stretched throughout the dough. When this fat finally melts in the oven, it will leave behind air pockets that will expand as water in the dough evaporates. This sudden phase change is the secret to flaky crust—and it'll never occur if your fat melts too early.
While bakers like to bicker over what fat is best, we'll leave that up to you. Butter is praised for its taste. Shortening is praised for its consistency. Whatever you choose, work fast—butter melts around 95℉, lard around 110℉, and shortening at 117℉ [PDF]. And keep in mind that while it's easiest to cut in cold fats with your hands, it’s also the easiest way to accidentally warm the fat. Work quickly!
To ensure that fat stays cold until baking time comes, some bakers recommend refrigerating the rolling pin. Others go so far as to recommend rolling the dough with a chilled bottle of wine. (Frankly, we like this second idea because, after all, you can’t drink a rolling pin while waiting for a pie to bake.)
Pick the Proper Pan
Even if you cut in fat at the ideal consistency and the right temperature, you could still end up with a dreaded soggy bottom. To avoid a flabby pie, the bottom crust must harden before the wet filling above has a chance to seep in—and that means you need heat. We’ll let the folks at Cook’s Illustrated explain:
“In its raw state, pie dough is made up of cold, solid fat distributed among layers of moist flour. These layers are easily permeated by juices from the ... filling, which stay in the dough for the duration of baking, producing a soggy crust. The key to protecting the dough is to partially liquefy the solid fat as quickly as possible so that it can better fill and coat the spaces among the particles of flour, creating a watertight barrier and preventing the juices from soaking in.”
The quicker the pastry heats, the less likely that juices from your filling will leech into the bottom crust. So when picking a pie tin, consider what conducts heat the quickest: Thick metal pans will heat faster than glass, and glass will generally heat faster than stoneware. (That’s not to say glass or stoneware are bad choices. Glass heats slowly but it will stay intensely hot for longer durations and, as a result, may actually bake something faster. And ceramic is generally agreed as the prettiest for serving, though people have different opinions on it for baking. But if you use either, you many want to place them in the hottest part of the oven for the first few minutes. Better yet, lay them on a pizza stone.)
There are plenty of other techniques to cook the bottom quickly. Some experts recommend placing the pie tin on a preheated baking sheet that has spent 15 minutes in a 400℉ oven. Others swear by using dark, metal tins. (According to the BBC, “black tins will absorb more heat than light-colored shiny tins, which reflect heat.”) You can also coat the pie’s bottom in an egg wash before adding any filling. Heat will cause the egg proteins to thicken and bind, creating an extra barrier between the crust and filling.
As the pie bakes, the filling will create steam within the crust, and you want to avoid trapping moisture. Cut generous slits into the pie’s top lid. Not only do these look attractive, they allow steam to escape.
Finally, the best part about making a homemade pie crust is eating the pie. Pop that bottle of wine/rolling pin and get slicing.
