It can be a little disconcerting to hear your toilet run when no one has been in the bathroom recently. Rather than assume some kind of paranormal pooper is the culprit, it may be time to investigate the issue yourself. Fortunately, there are ways to stop a running toilet without having to pay a plumber. Here’s how.
1. Check the fill tube.
When you hear water “running” in your toilet, it’s typically because a problem exists inside the tank. Toilets work by measuring how much water is in the tank using a float. When the water drops below a certain level—like after a flush—the fill valve connected to the water line (that flexible hose leading into the toilet tank) allows water in so the tank is filled back up for the next flush. If the fill valve, float, or flapper (the seal that moves when you operate the handle, letting water out and into the bowl) are malfunctioning, water will leave the tank, drop the water level, and cause the water line to run in order to keep it filled. (You can visualize all the tank parts in the above video.)
You’ll first want to check the fill valve for issues. Examine the fill tube, which is the plastic tube that runs from the fill valve on the left side of the tank to the overflow tube on the right. Make sure it’s attached tightly to the fill valve and that water is going from the valve, through the tube, and into the overflow pipe. (The tube shouldn’t extend into the pipe.) The fill valve should be seated slightly higher than the overflow tube to let gravity get the water into the tube. If it’s too long, you can trim it so it’s not extending into the pipe.
2. Check the float.
The float is the plastic part shaped a little like a cup on the fill valve that lets the valve know when the water level is correct. If it’s set too high, water goes into the overflow tube and the water will keep running. If it’s too low, the flapper will stay open. Adjust the float using the attached rod, clip, or screw until the water shuts off at the proper level—usually marked on the inside of the tank or the overflow tube.
3. Check the handle.
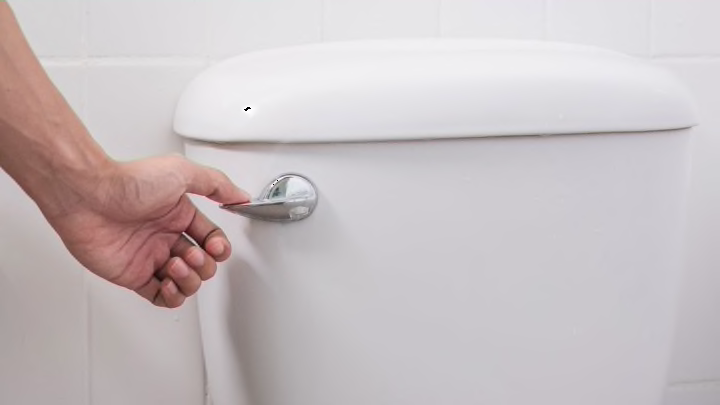
The exterior handle of the toilet is attached to the flush rod, which is easily identifiable inside the tank: It’s the piece of plastic connected to a chain that leads to the flapper. If the chain is too short, it may prevent the flapper from closing and making a seal, which would allow water to leak into the bowl. If it’s too long, it might not let the flapper remain open to let the water out. (This wouldn’t cause the toilet to run, but it’s still a problem, as you want the bowl to refill.)
Make sure the chain has just enough slack to open the flapper and that the flush rod isn’t hitting the inside of the tank lid when you flush.
4. Check the flapper.
The flapper can be the source of many running toilet issues. If it doesn’t create a proper seal, water will leak from the tank into the bowl, causing the water line to run to make up for the dropping water level inside the tank.
While you can examine other parts of the tank without emptying it, looking at the flapper will require you to drain it. Shut off the water coming into the toilet using the shut-off valve—usually a few turns to the right until you feel resistance—then flush. Without the water source, the tank will empty into the bowl without refilling. Sponge any remaining water from the tank, then take a look at the flapper. If the rubber seal is cracked or it’s otherwise not sitting properly, it’s worn and needs to be replaced.
This is extremely simple to do. You can take your old flapper to a hardware store and have someone assist you in selecting a replacement, or you can simply pick up one of the universal replacement flappers that should fit most toilets. (While this works most of the time, some toilets may have an odd size flapper.) To remove the old flapper, just unclip it from the flush rod chain and overflow tube. To replace it, use the same steps.
5. Replace everything except the toilet.
If you’ve followed these steps and the toilet still runs, you’ve got a problem somewhere along the entire flush system. The best thing is to simply replace the fill valve, flapper, and all accompanying parts. This isn’t difficult. Hardware stores will have universal flush repair kits that are inexpensive (under $15) and easy to install if you follow the included directions. The only wrinkle is that in order to seat the new flapper properly, you’ll have to remove the tank from the toilet as well as make sure you get a good, tight seal between the fill valve and the water line. Trust us that watching someone do this, as in the video above, is the easiest way to understand it. Above all else, make sure you turn off the water before you begin any work.
If your running toilet persists after replacing the flush components, you’ve got yourself a job for a plumber. But in the vast majority of cases, one or more of the steps outlined above will resolve the issue. And if you have a toilet clog, there are some steps you can take for that, too.
[h/t Family Handyman]
