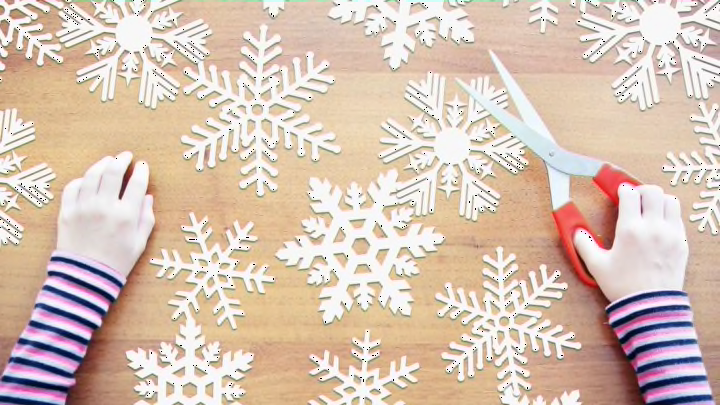
The holiday season is a great time to spruce up your home with some DIY Christmas decorations. Making your own paper snowflakes to hang around the house is an accessible activity for all ages—you can keep them simple, or make things more complicated with themed designs. Here are quick and easy instructions on how to make the perfect paper snowflakes.
Materials Needed to make a paper snowflake:
A4 sheets of white paper
Pencil or pen
Scissors
1. Make an even square.
Grab your A4 sheet of paper and lay it flat and horizontal in front of you. Take the top right corner of the sheet and fold it so the right edge of the paper is perfectly lined up along the bottom of the sheet, forming a triangle. Cut the excess rectangle of paper off of the left edge by folding the left edge of paper in then using the scissors to cut along that fold. Then take your triangle and open up the fold to reveal the perfect square.
2. Fold—then fold again.
Take your square sheet of white paper and fold it in half to create a triangle, creasing along the fold gently with your hand. Then take the newly formed triangle and fold it in half again to make a smaller triangle, again flattening the folded crease with your hand to make the shape nice and tidy and flat.
3. Perfect your triangle.

Take your triangle and carefully fold it into equal thirds. This should form a thin triangle, with all the layers lining up on top of one another. Use the blunt edge of your scissors to flatten the edges so that the triangle is neat and tidy. If there are any uneven bits along the unfolded edge at the bottom you can trim them off.
4. Draw your design.
Select your pencil or pen and draw shapes along the creased edges of your still-folded triangle. You might want to draw semi-circles or little triangles; these will open into circles and diamonds once cut.
5. Cut carefully.
Use your scissors to carefully and slowly cut out the shapes you’ve sketched on your triangle. Take your time, be precise, and watch where you place your fingers to avoid accidental snips!
6. Unfold and display your snowflake.

Once you’re happy with the shapes you’ve cut out and put the scissors away, it’s time to open up your paper snowflake. Brush all the cuttings to one side, then unfold the triangle slowly and completely. Gently flatten the snowflake shape with your hand to ease the folds out, then display your creation around the house.
